D/S LIFESTYLE
How To Build A Dungeon
By Maître Pierre
Here is a description of the dungeon and how W/we made the decisions and finished it.
In the previous articles W/we explained what W/we wanted and needed from the dungeon. The wish list made a complete description of what W/we wanted to add to the dungeon.
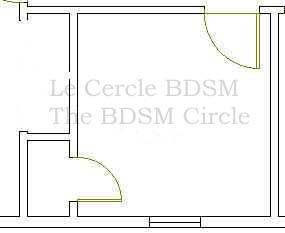
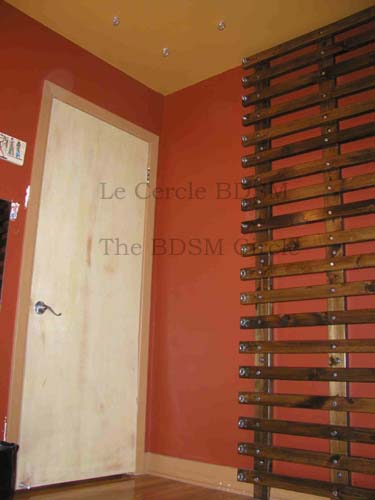
Now that W/we have chosen the room for the dungeon and removed everything that was in it and cleaned it, the next step is the choice of colors. For Me, as a typical male Dominant, white is the answer for everything......Well!.....that didn't go well with Catharine/katy and S/she....hmmmm!...called in Her veto! (and I am glad that S/she did!) W/we looked into the usual dungeon decors and colors, dark, black, walls of stone or bricks....but the room is small and W/we knew that almost all the walls would be covered with equipment.
Because W/we wanted to spend a large amount of time in this room, W/we wanted colors that would be comfortable for U/us. I must admit it, I think Catharine's/katy's choice of colors is...perfect!
Soothing earth tones were chosen by her.
There were three paint colours chosen for the dungeon.
- The ceiling and two walls were painted "sun valley" (the colour to the left in the picture)
The other two walls "sienna" (the middle color on the pictures)
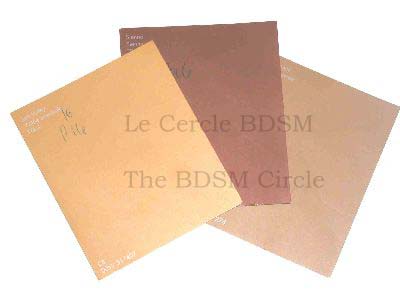
And for the trim "copper penny" (the color on the right and under in the picture)
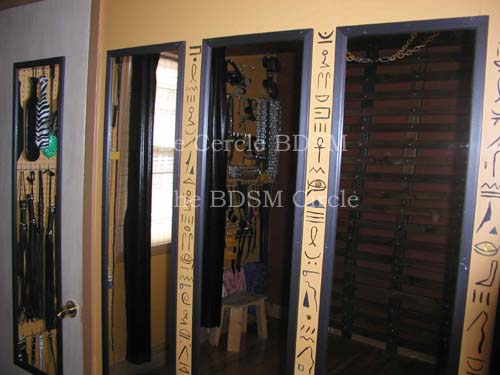
To give the room a theme, Catharine/katy chose to make it "Egyptian"
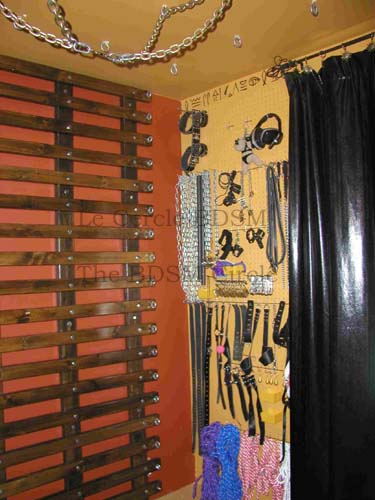
Let's start the visit!
© THE BDSM CIRCLE / LE CERCLE BDSM 2003